
Reupholstering an Ottoman for a Kids Room Leave a comment

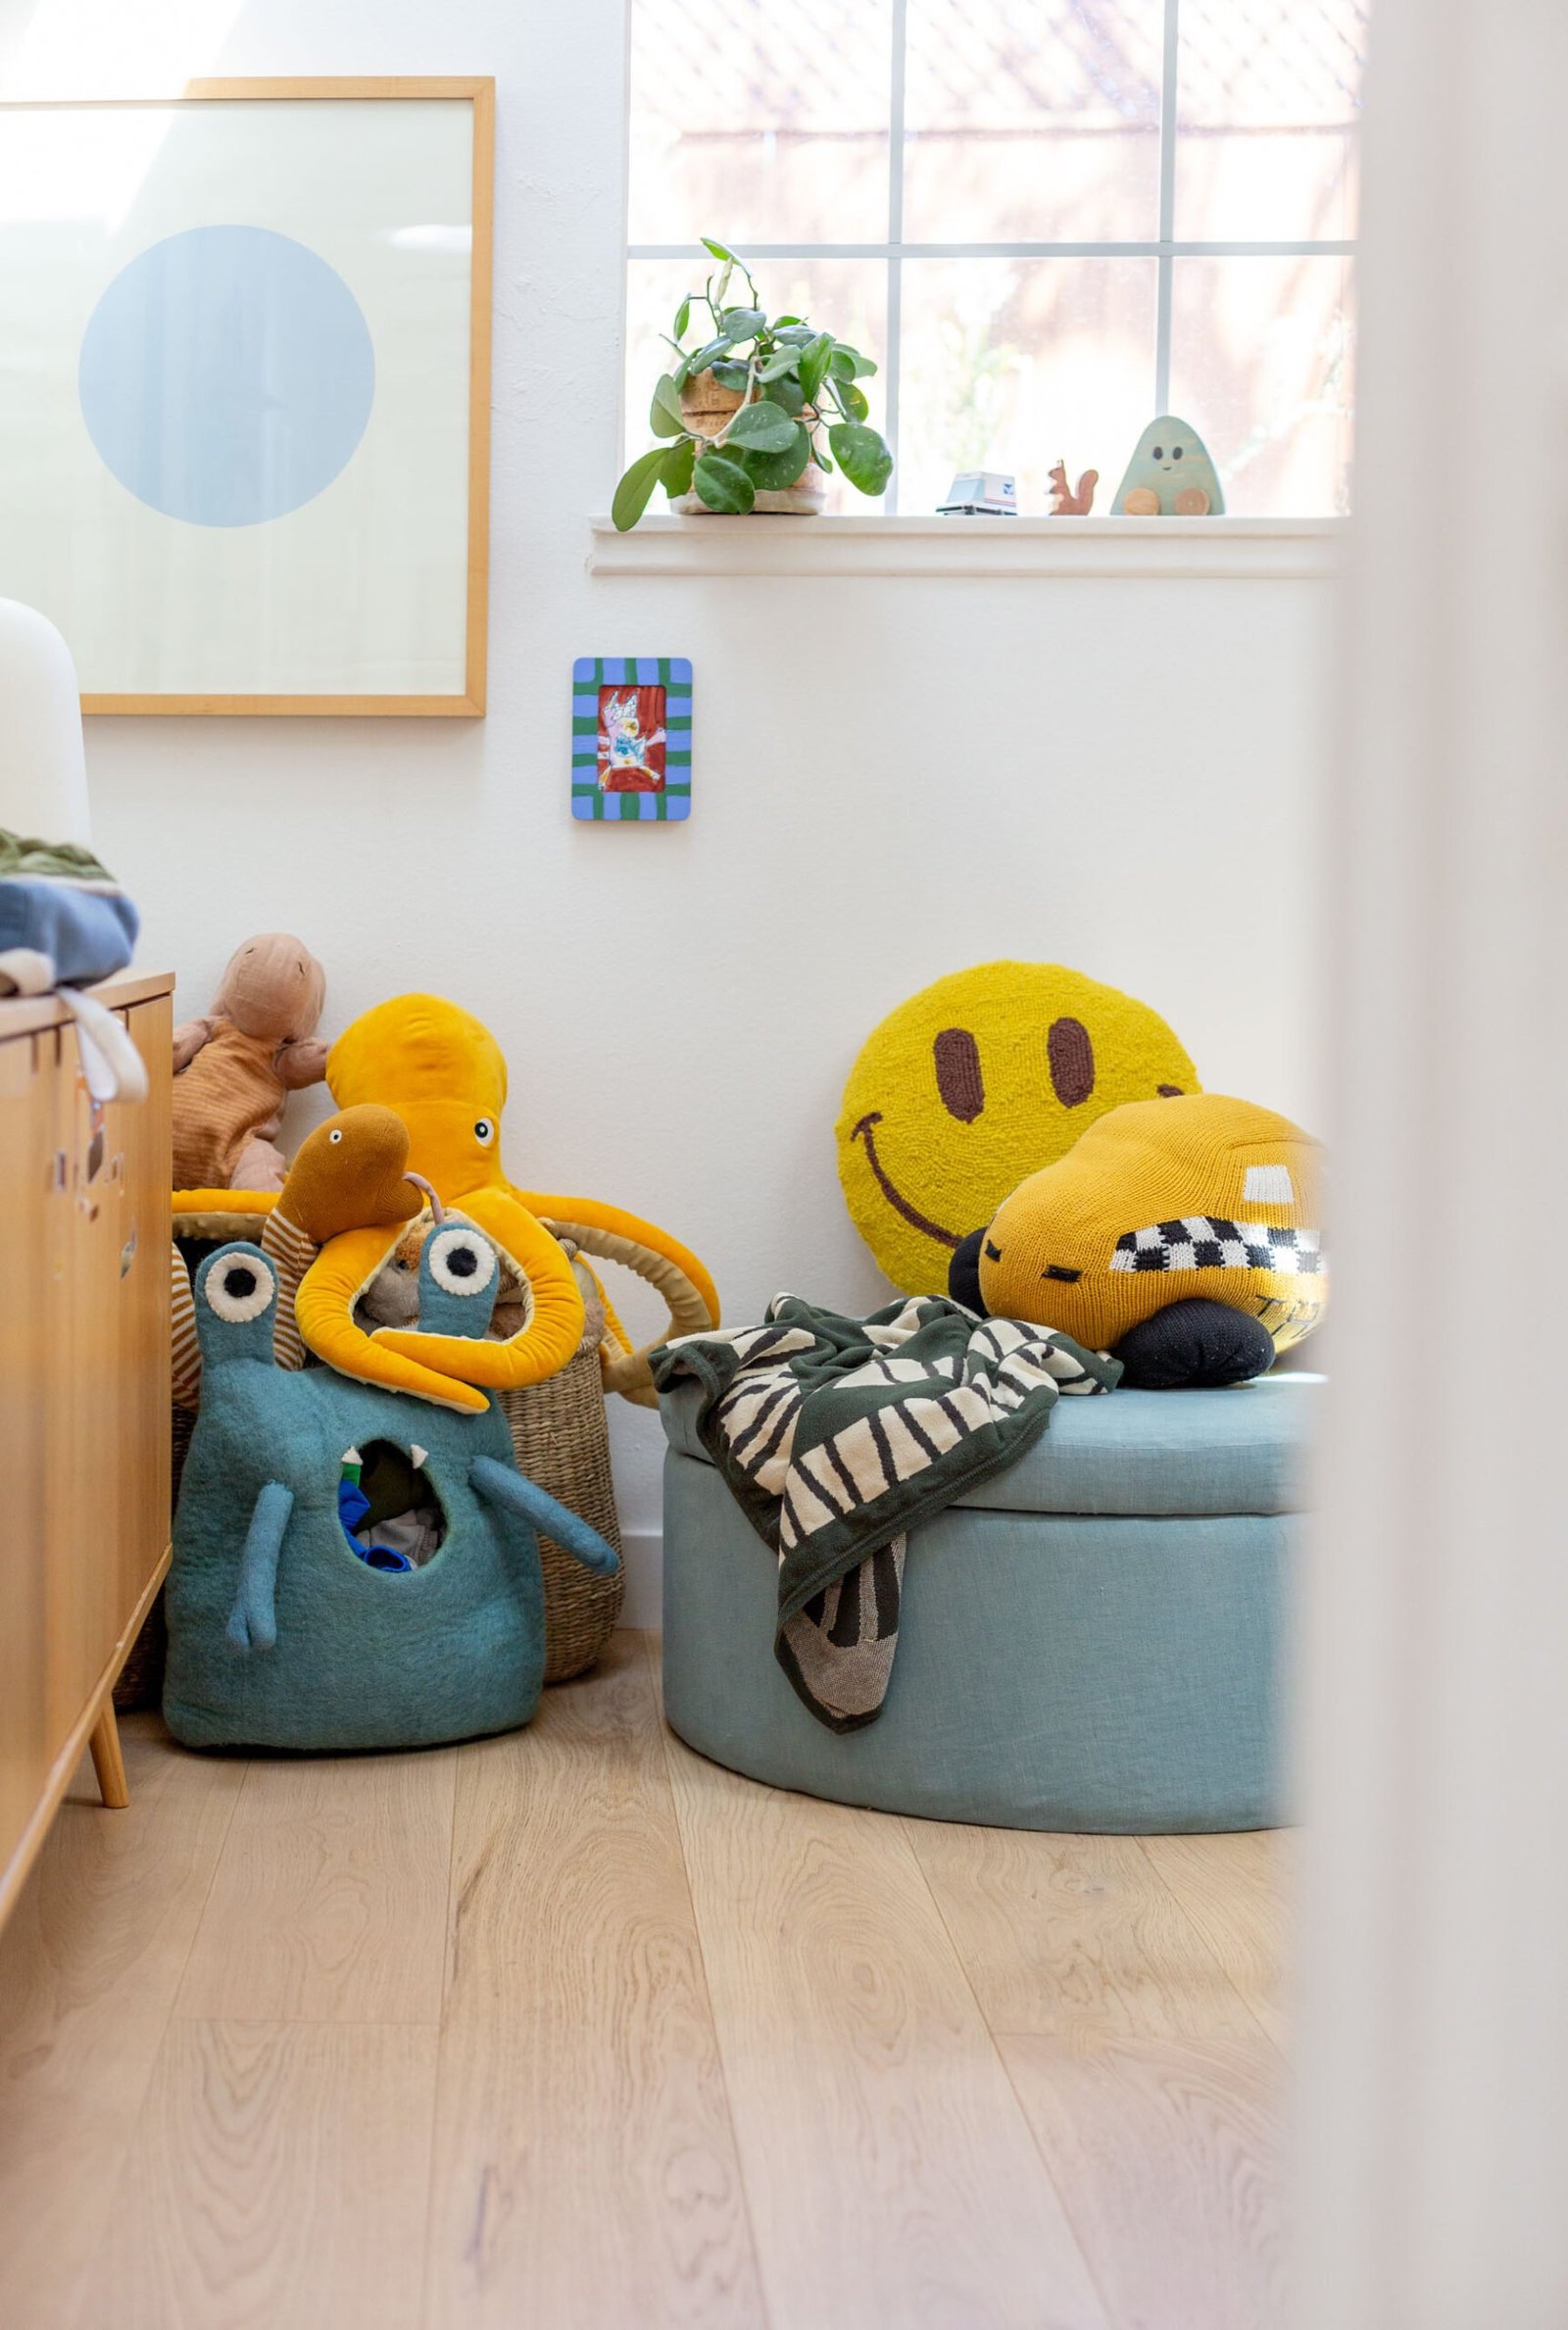
I’ve had this white boucle storage ottoman for just a few years now. And over time, it had turn out to be fairly soiled. Having a child and a canine will do this. So after I moved it into my son’s room, so he would have extra toy storage and a spot to take a seat, I believed I’d freshen it up and reupholster it.
The round form made it a bit harder than my final upholstery mission (this DIY headboard), but it surely’s completely doable! And now that it’s executed, I’m so glad I made the trouble.
If you happen to’re curious to attempt one thing related, and repurpose a chunk you have already got, click on by means of for the tutorial.
Right here’s what the ottoman regarded like earlier than (beneath). It had a bunch of stains on the backside and simply regarded actually worn out.
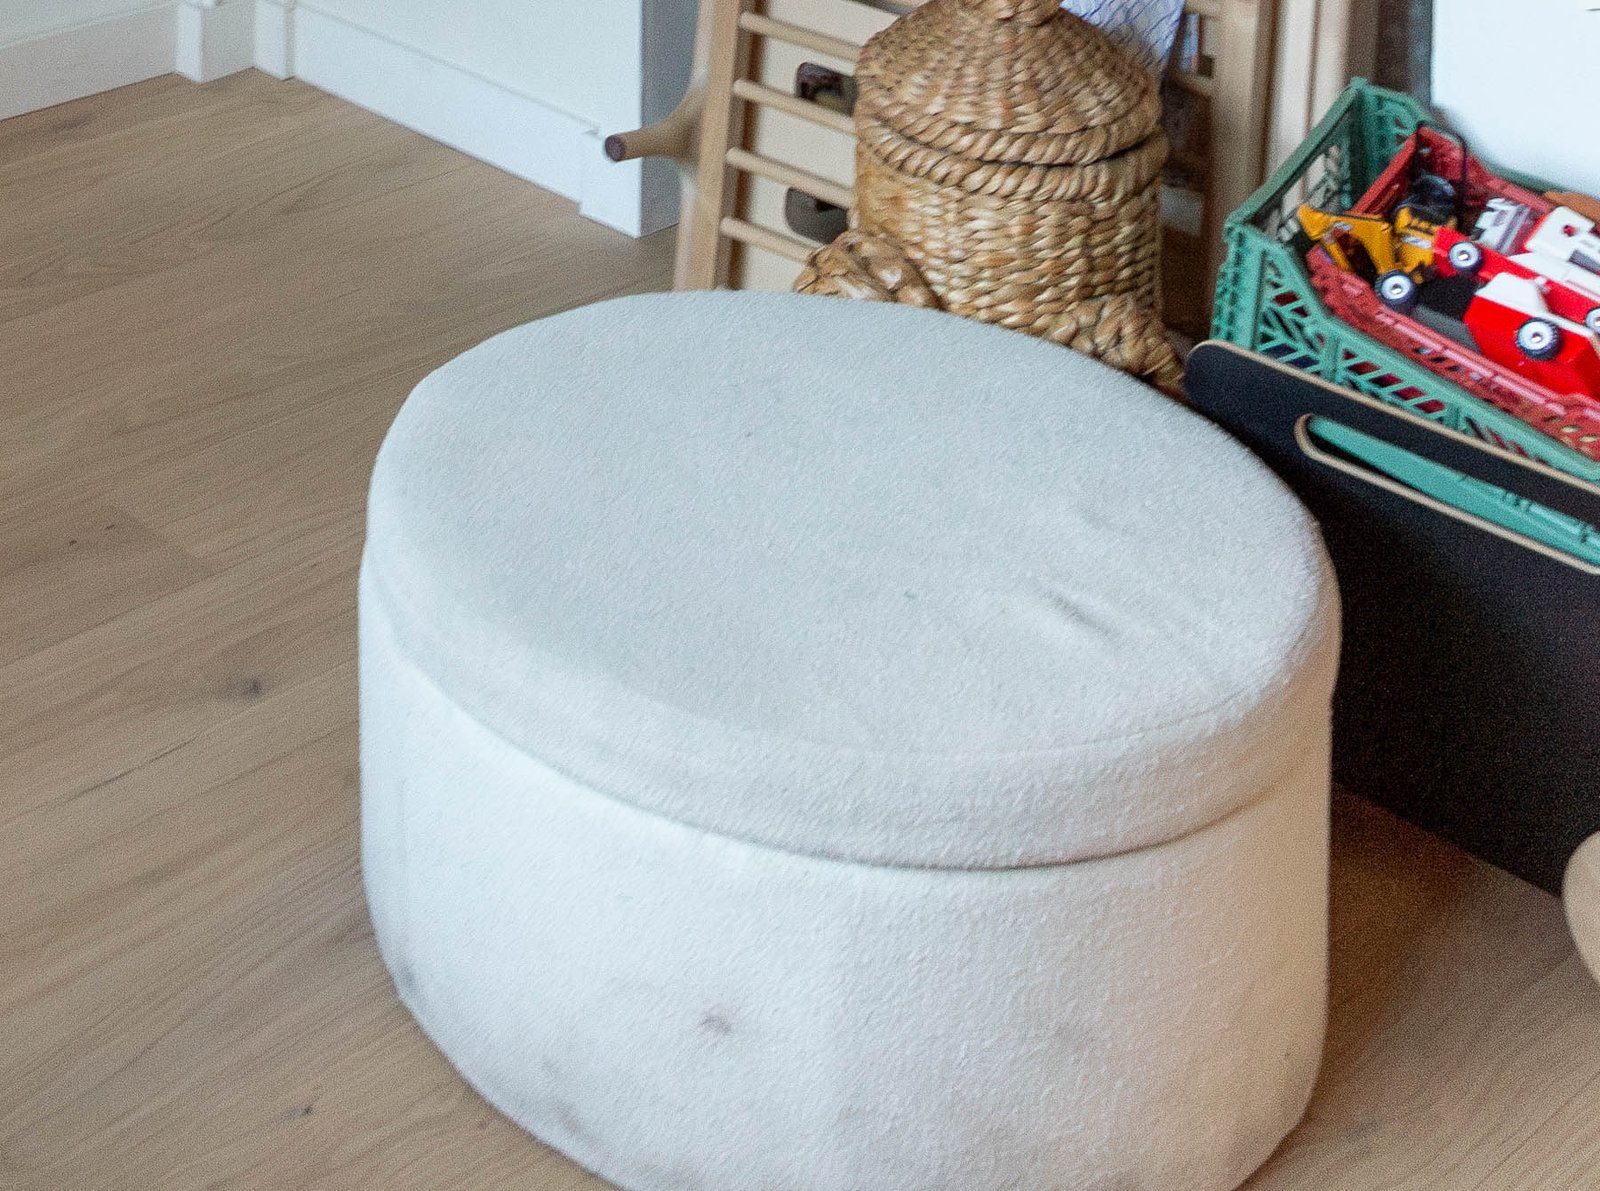
However apart from its look, it was nonetheless very helpful. Right here’s how I reupholstered this spherical ottoman in a day…
Reupholstering a spherical ottoman
For this mission, I used an analogous method to this DIY storage ottoman from some time again. However the form is sort of completely different and I used a staple gun for almost all of the method. So, with that in thoughts…
Begin by ironing the material you intend to make use of. This goes for the lid cloth in addition to the bottom cloth. I used the final of my scrap linen cloth from after I recovered my arch headboard.
Stitching the spherical lid cowl
1. To get the right form for the rounded lid, with out eradicating the material that was already on the ottoman, took a pair further steps. Nevertheless it didn’t appear price it to take away the present cloth, so I left it on.
Beginning with the spherical form, I put the material beneath the ottoman and traced all the best way round. *The circle piece of material for the lid is meant to be a bit smaller than the total dimensions of the ottoman, in order that gave the seam allowance I wanted as nicely. Seam allowance was and additional 1/2 inch all the best way round.
2. Reduce the traced circle out (which incorporates the seam allowance) after which fold the circle in half after which fold it in half once more. After which trim all the best way across the edges once more ever so barely, to verify it’s an ideal circle all the best way round.
3. For the facet piece that attaches to the circle, I reduce it 2.5 inches wider than I wanted it to be, all the best way round. This was so I’d have loads of further cloth to tug round beneath and staple it in later. After which I made it so long as attainable, the size of the piece of material I had.
I nonetheless ended up having so as to add one other strip (which I sewed collectively earlier than the following step) as a result of my cloth wasn’t lengthy sufficient. So there are 2 seams on the facet, as an alternative of only one that joins every little thing collectively.
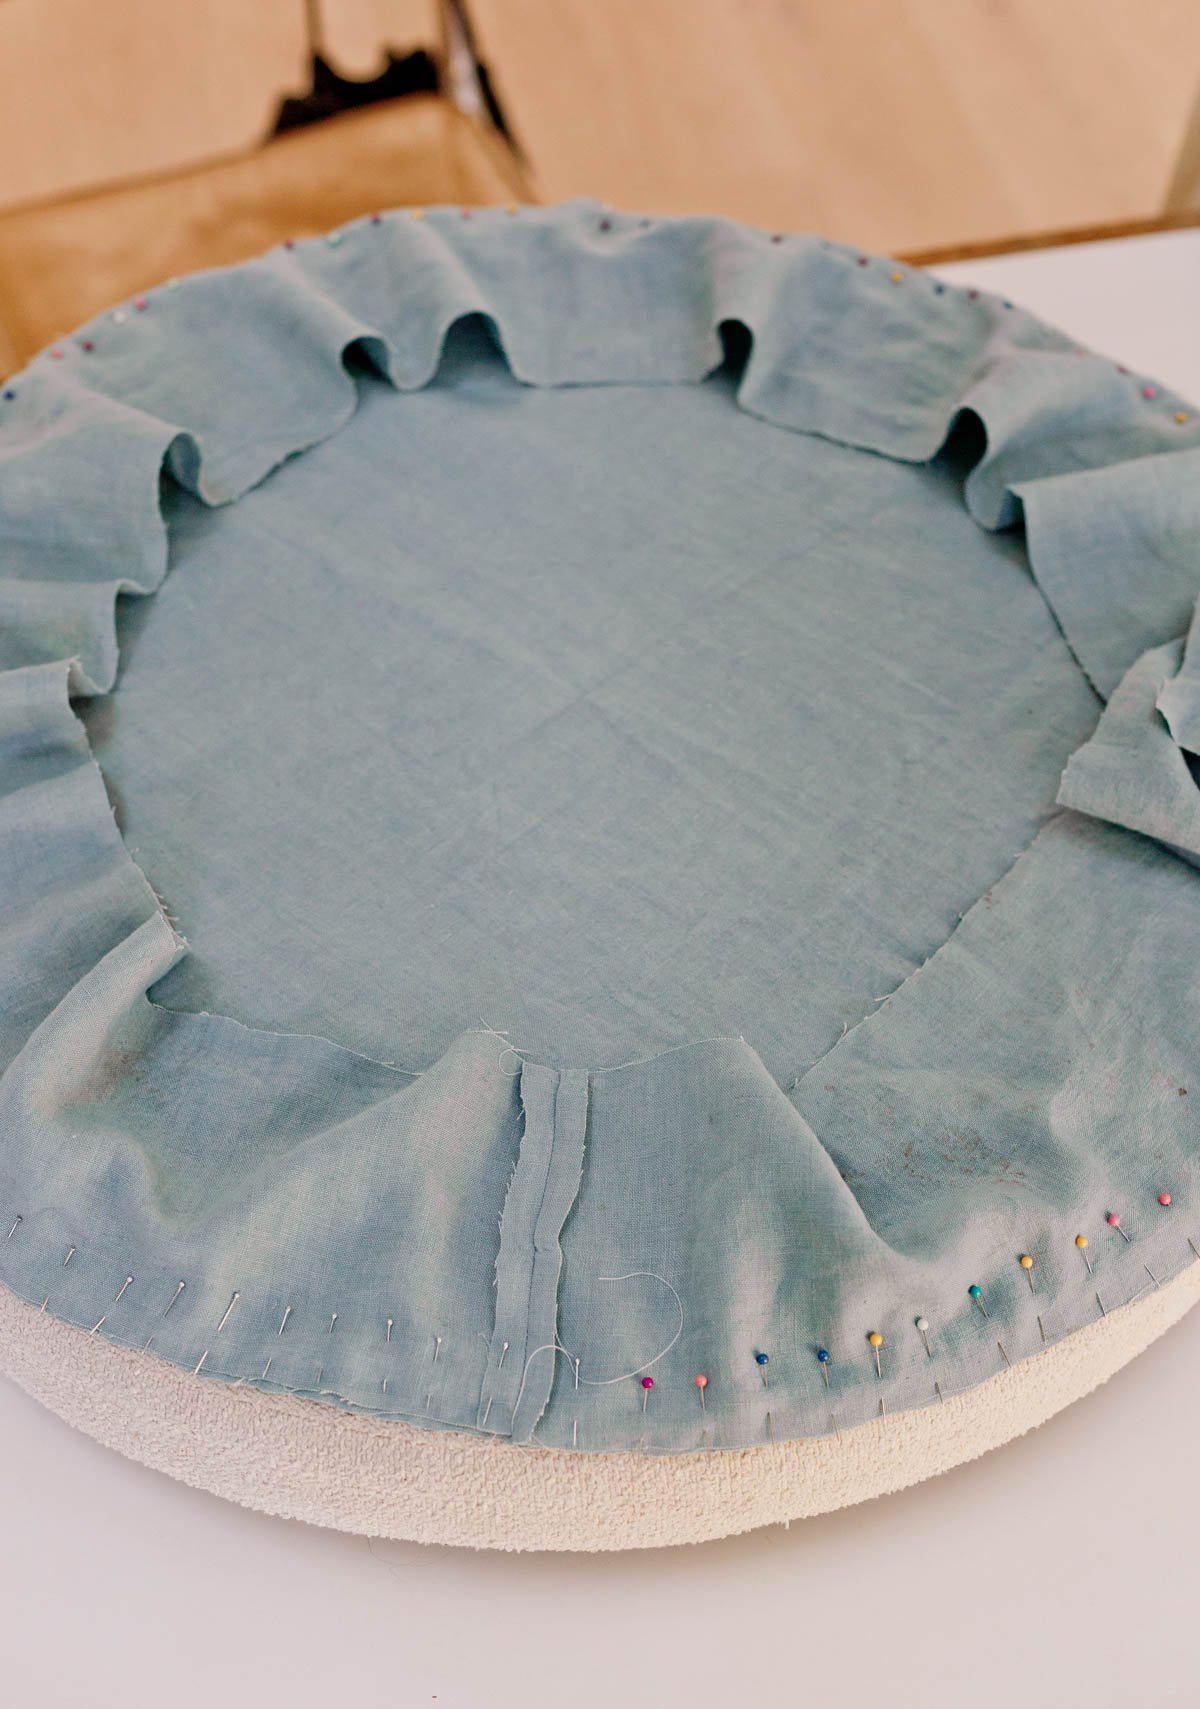
4. Then pin the proper sides of the material collectively (RST) – circle and facet items all the best way across the circle. Use loads of pins to keep away from puckering (see picture for what number of I used for example).
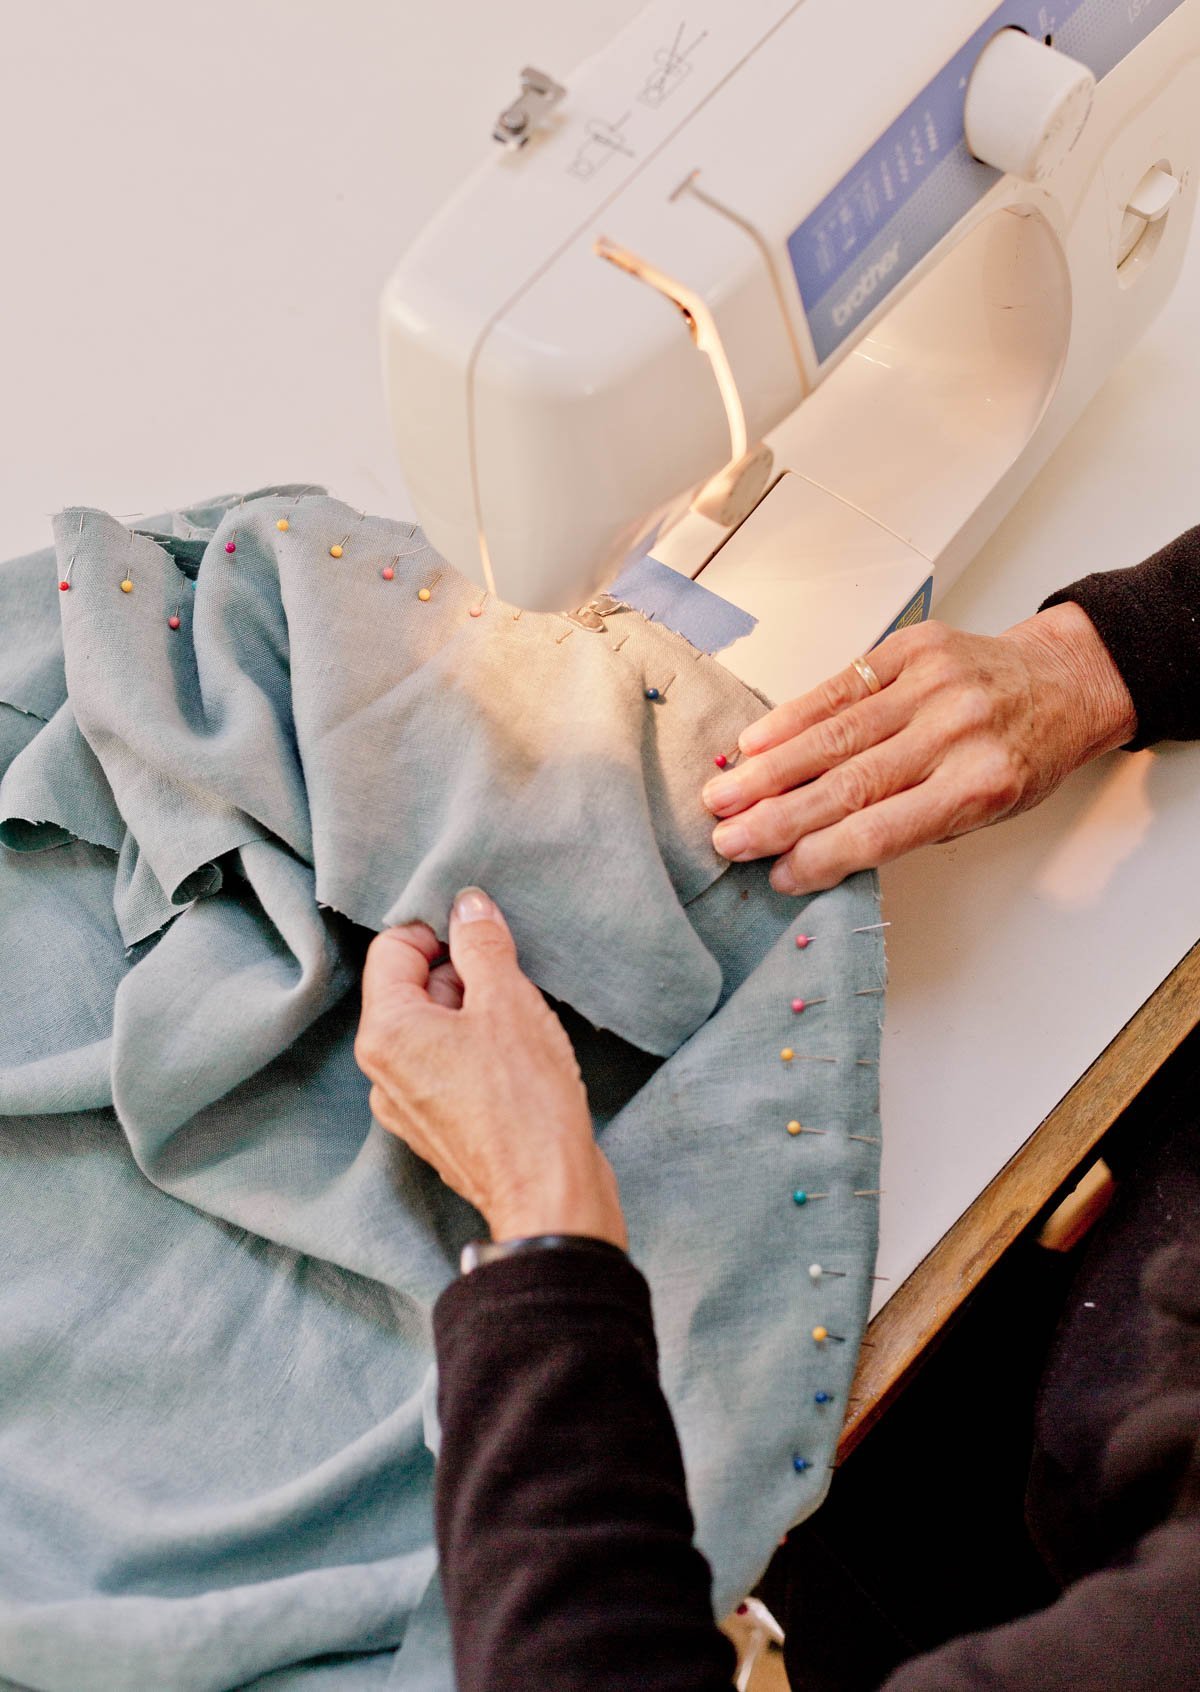
5. Now it’s time to stitch! I requested my mother to stitch this half for me as a result of she is significantly better at stitching than I’m.
Sew the 2 materials collectively all the best way round, preserving the half inch seam allowance. The stitching foot of the stitching machine that was used is roughly a half inch, in order that was used as a information. You are able to do no matter you want to take care of the allowance, clearly.
6. Verify to verify what you simply sewed seems to be appropriate, by becoming it on the ottoman lid. And make word of the place the start and the top of the facet cloth might want to meet. Then take away from the ottoman and stitch these two ends collectively.

Attaching lid cowl
1. Now that the stitching is full for the lid, press the seams open / flat with an iron, all the best way round. And match excessive of the ottoman lid.
2. On the underside of my ottoman, there was already a backing cloth, so I pulled the staples out of the backing to staple the ottoman lid cowl.
3. After which I stapled the duvet again over it after I was executed. The way in which I did it, you may’t see any of the staples beneath the lid. They’re hiding beneath the lip of the backing cloth, the place the stitches are.

Recovering the underside of the ottoman
1. This a part of the mission was the best. I began by measuring all the best way across the base of the ottoman, to get dimensions. After which added within the dimensions for the within of the ottoman. Then, reduce my cloth all the way down to measurement. I added 3-4 inches in all instructions to my dimensions earlier than chopping, to verify I’d have sufficient to wrap across the inside and beneath.

2. Subsequent, I draped the material over the bottom, leaving a few inches on the backside that I may wrap and staple the material beneath. After which made certain the remaining cloth was lengthy sufficient to cowl the within sides of the bottom. I opted to go away the underside of the within as is, as an alternative of reupholstering that half. I didn’t find yourself having sufficient cloth to cowl that half.
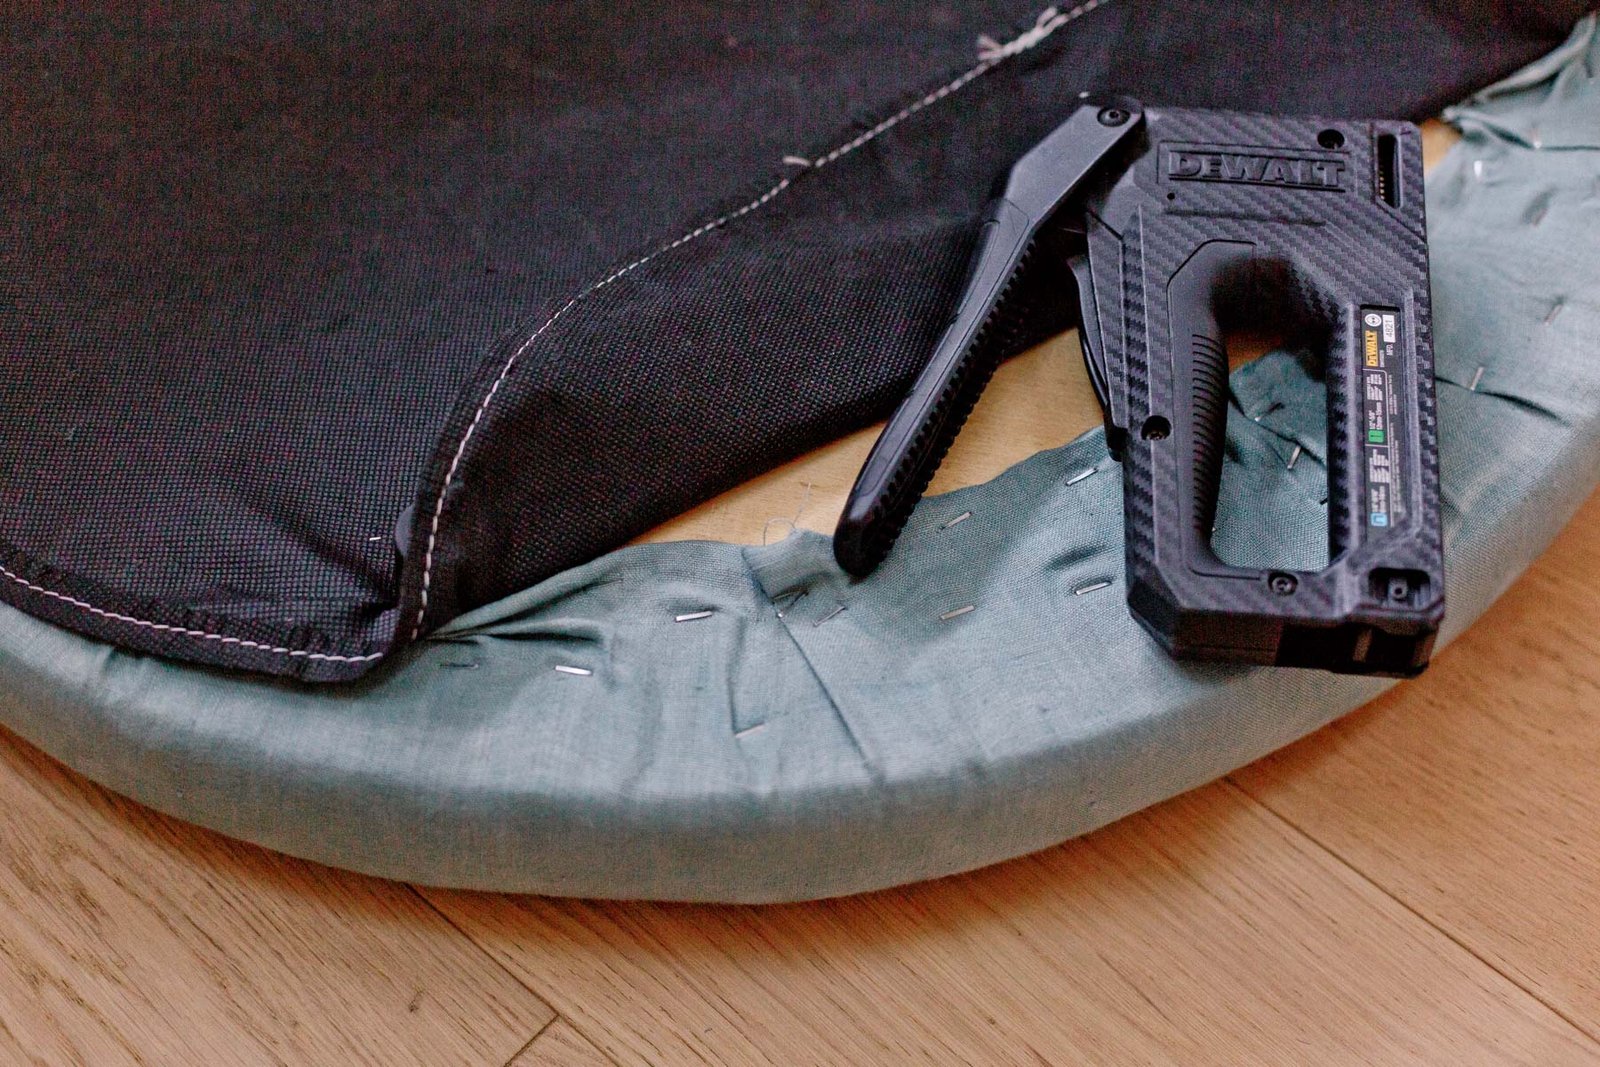
From there, I stapled the material to the underside of the bottom, all the best way round, as I used to be pulling the material as tight as attainable, to take care of a clear, easy look.
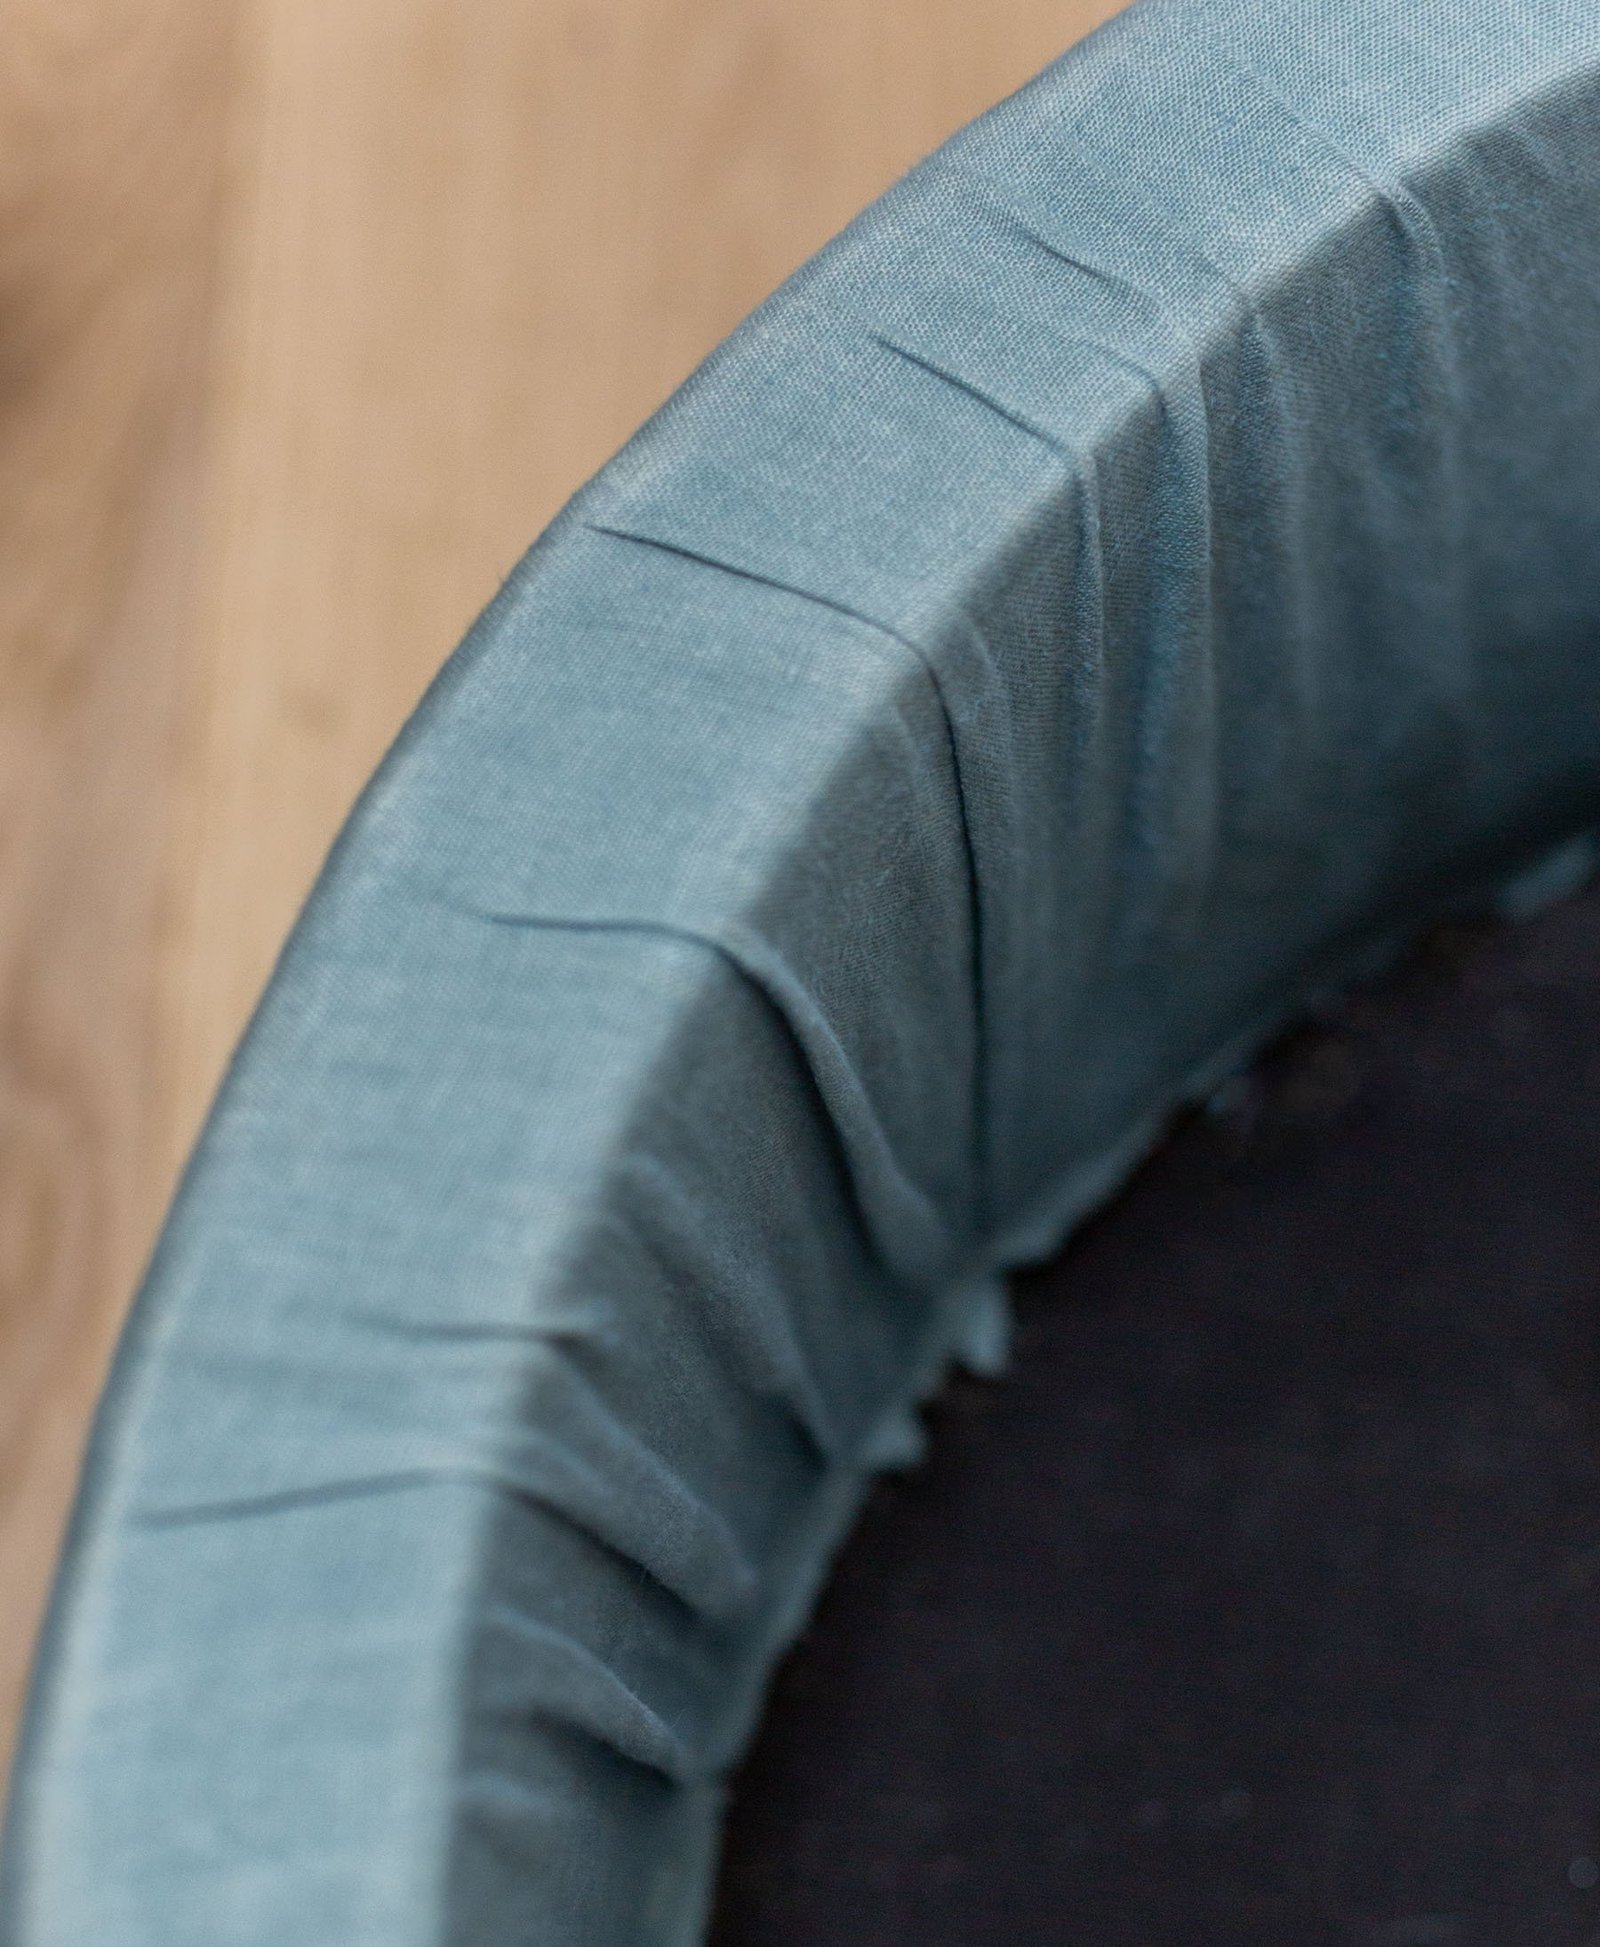
3. As soon as that half was safe, I began pulling the material tightly to wrap over and into the within of the bottom. And used a staple gun once more to safe the material each inch or two.
This half isn’t excellent – there are some folds and slight bunching on the rim due to the surplus cloth. It doesn’t look unhealthy. Simply not like knowledgeable upholstery job. When the lid is on you may’t see any of that bunching across the inside rim.
4. Then, I ended up hand stitching collectively the place the 2 ends of the material meet on on the skin of the bottom, to offer it extra safety and energy.
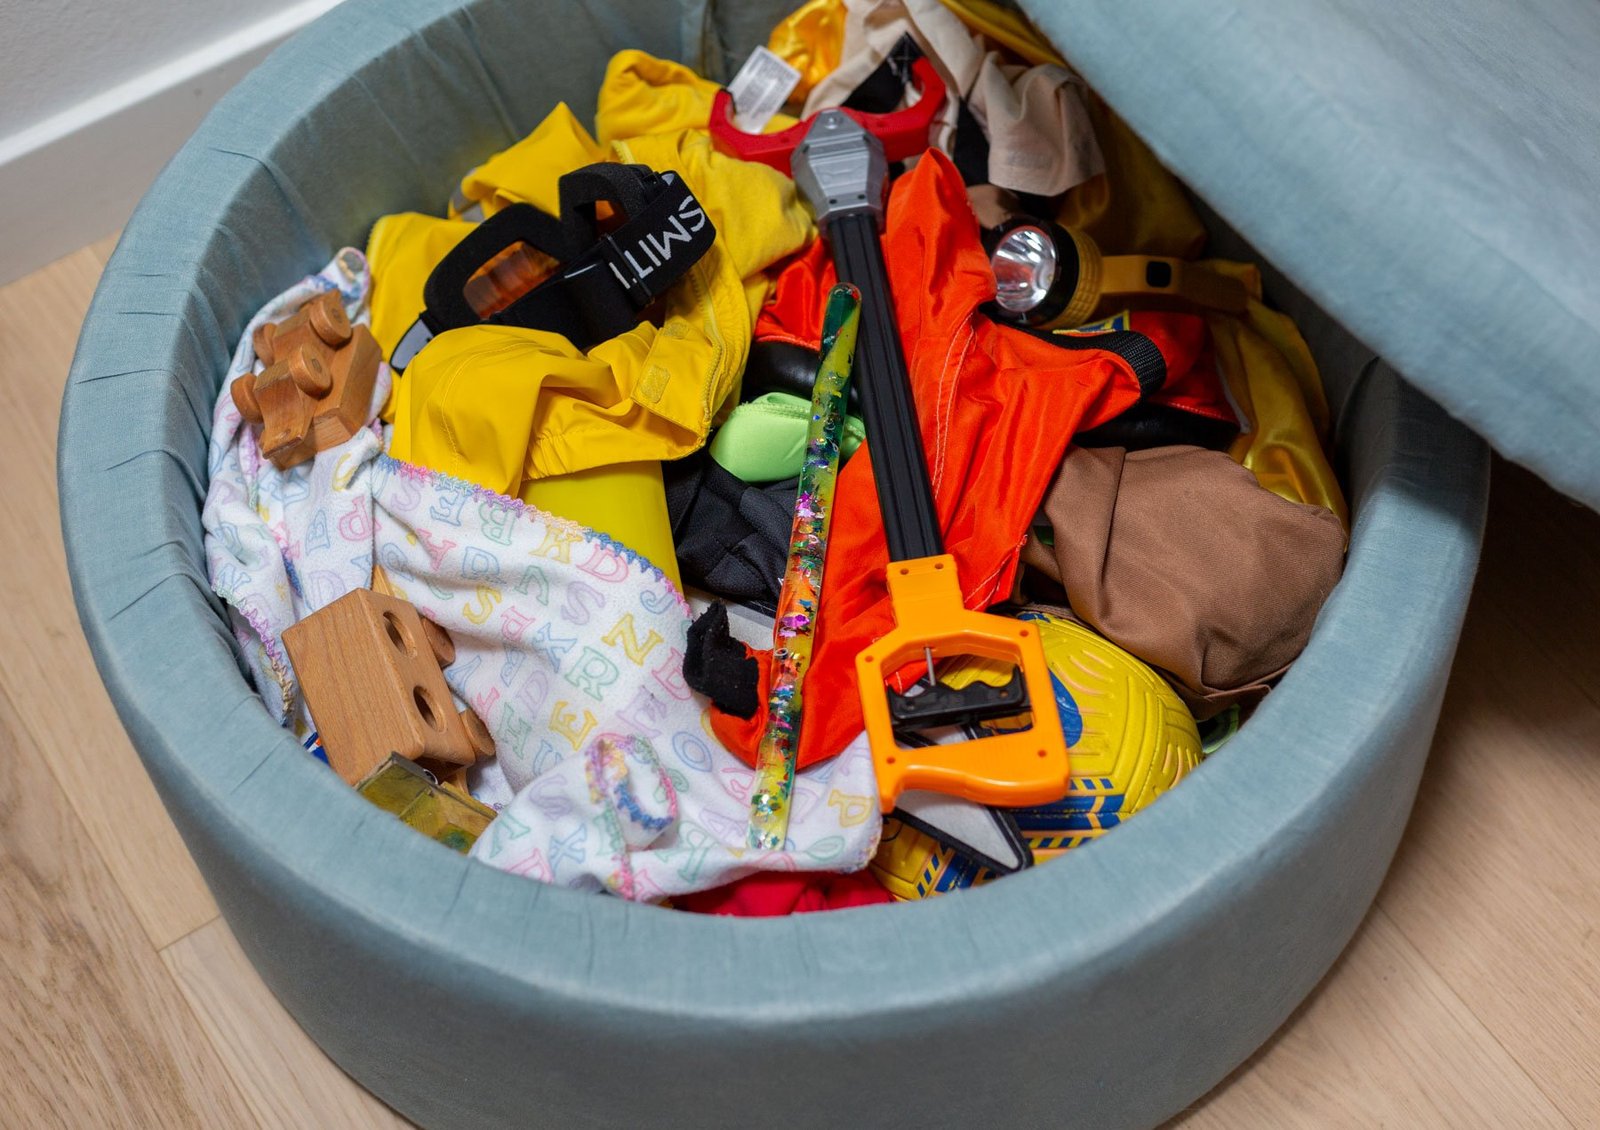

And that’s it! Is it excellent? Removed from it! BUT I’m glad that we are able to maintain it out of a landfill and proceed utilizing it for years to come back.
It actually has been nice toy storage for Hayes. And makes for simple room cleanup too – as a result of we are able to simply throw every little thing in there and shut the lid.